V-stitches are so easy to make and they are so beautiful. You never know how easy it is to make by looking at the finished product. And have you ever combine two different type of yarn in a project? here I used Red Heart with Love and Red Heart Super Saver. I choose this yarn not because of the type but because of the colors and the availability. So here is my quick and easy V-stitch hat. Hope you all enjoy making this hat.
Materials
- Red Heart With Love in Hot Pink-Color A
- Red Heart Super Saver in Baby Pink-Color B
- I /5.50 mm crochet hook
- Tapestry Needle
- Scissors
Size
Adult Size
Stitches abbreviation used:
- ch - chain
- sc - single crochet
- dc - double crochet
- sl st - slip stitch
- BLO - back loops only
- beg. V-stitch- Beginning V-stitch ( 2dc in a stitch)
- V-stitch
Instructions:
This Pattern starts from the ribbing and working in rows then after the ribbing will be working in rounds.
Row 1. With the Color A. Chain 9, sc in 2nd ch from the hook. SC in all stitches (8sc). Chain 1, turn.
Row 2. SC in first st. SC in next and the rest in BLO. Chain1, turn.
Row 3- Row 60. Repeat Row 2. Then join both ends of the ribbing together with by sl st each st together or you can also whip stitch them together. Whichever you like. Then we will work in round this time all the way up to the top of the hat. Weave all ends and fasten off.
Main Hat
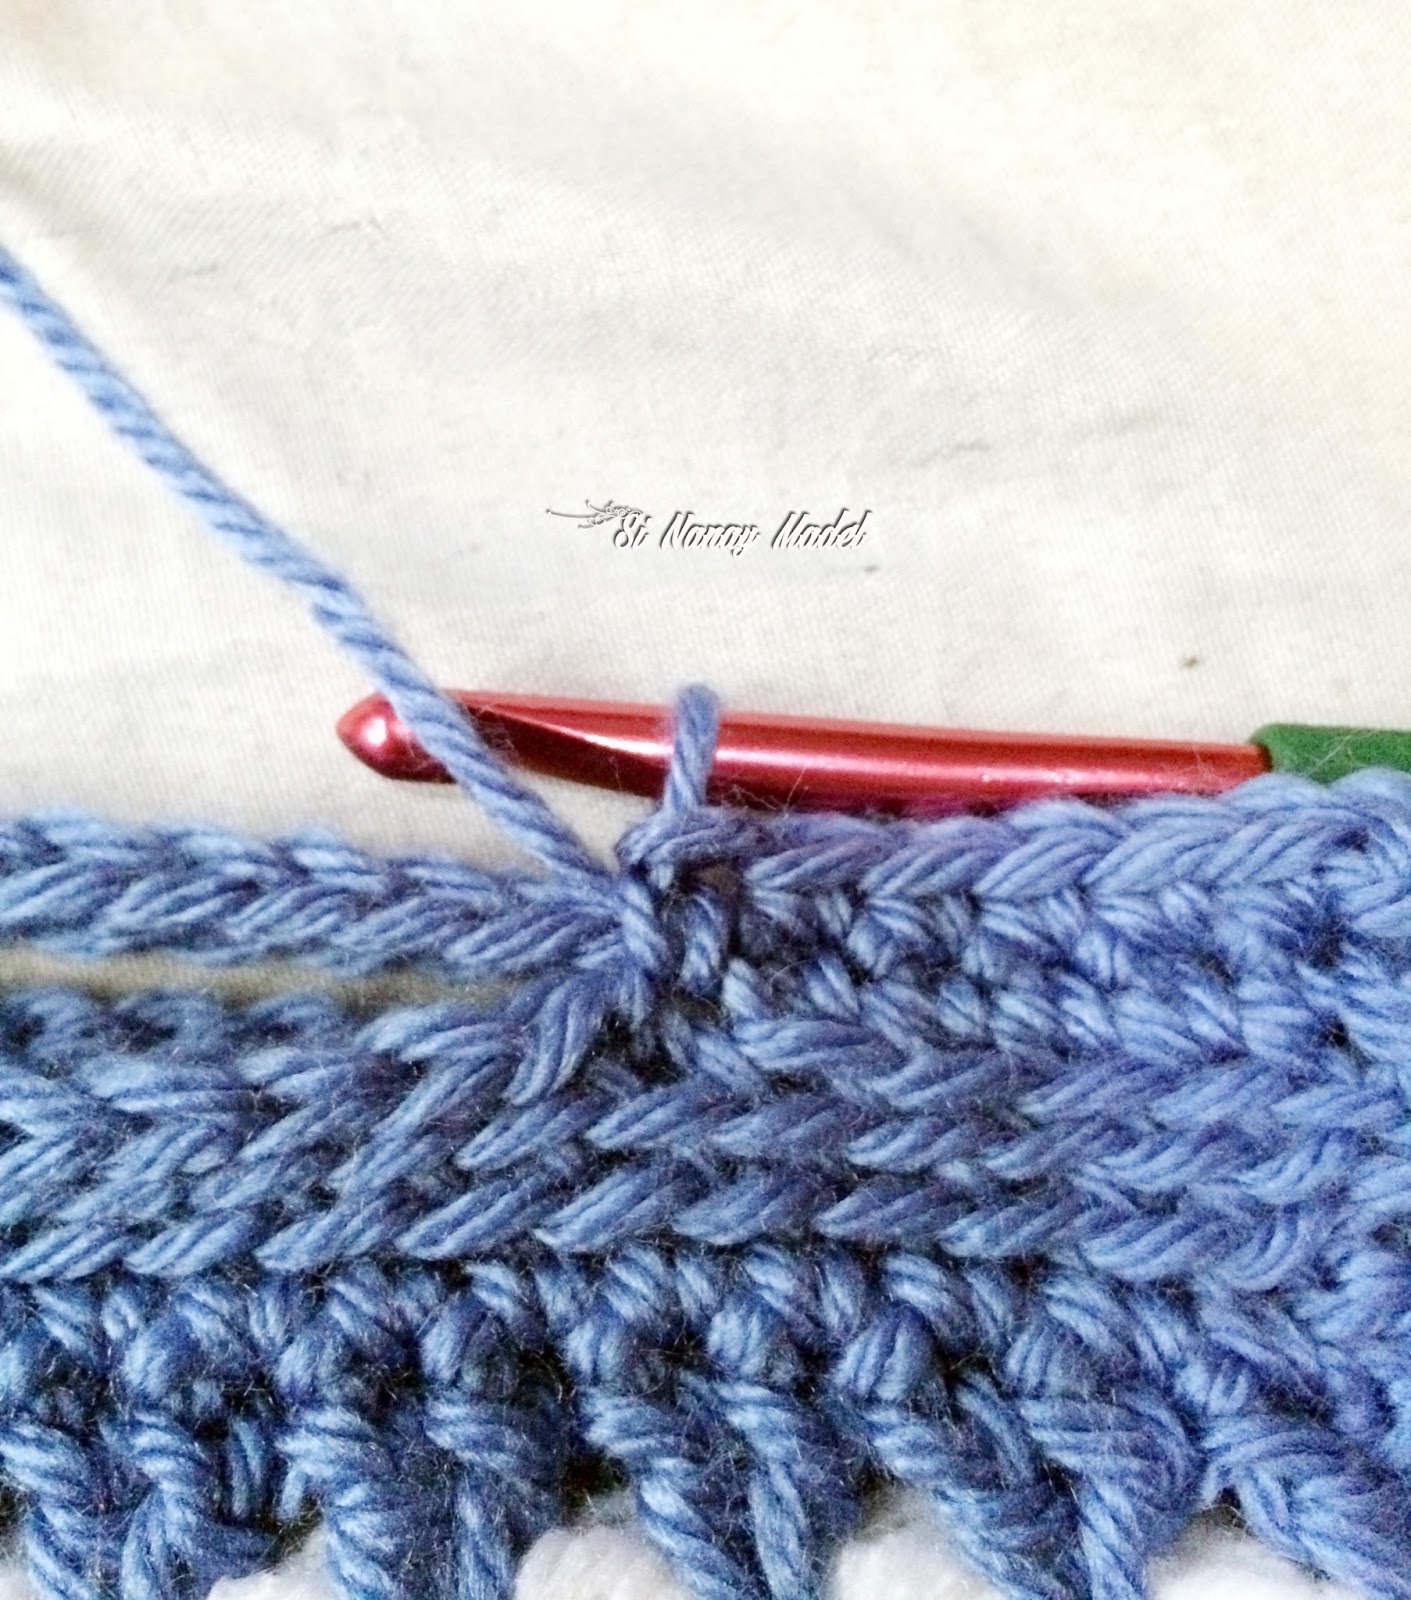
Round 1. With Color A still attached at the joining of the ribbing, chain 1, sc in same st, sc in each st all the way around. Change to Color B. Join with a sl st in first st of the round. (60sc)
Round 2. Chain 2, dc in same stitch (beg. V-stitch made). *Skip one (1) st, 2 dc (V-stitch) in next stitch* Repeat all the way around. Change to Color A before joining with a sl st on top of the beg. V-stitch. (30 V-stitch)
Round 3. Chain 2, dc in same stitch (beg. V-stitch made). *V-stitch in between the V-stitch(2dc) of the previous round.* Repeat all the way around. Change to Color B before joining with a sl st on top of the beg. V-stitch. (30 V-stitch)
Round 4. Chain 2, dc in same stitch (beg. V-stitch made). *V-stitch in between the V-stitch(2dc) of the previous round.* Repeat all the way around. Change to Color A before joining with a sl st on top of the beg. V-stitch. (30 V-stitch)
Round 5-Round 12. Repeat Round 3 and 4. You can add more rounds if you want your hat to be more slouch than what I've done.
Round 13. Chain 2, dc in the same stitch (beg. V-stitch made). *V-stitch in between the V-stitch(2dc) of the previous round, V-stitch in next v-stitch, then 1 dc in next (v-stitch decrease), and also 1 dc in the next v- stitch of previous round, then a full V-stitch in next* Repeat all the way around, ending with 2 v-stitches dec. Change to Color B before joining with a sl st on top of the beg. V-stitch. You'll have 3 full v-stitch followed by 2 v-stitch decreases in repeats. (18 Full V-stitch and 12 v-stitch dec. or 1 dc.)
Round 14. Chain 2, dc in same stitch (beg. V-stitch made). *1 V-stitch each into the next 2 V-stitches, V-stitch in between the V-stitch dec or in between the two lone dc of the previous round, V-stitch in next.* Repeat all the way around till end. Change to Color A before joining with a sl st on top of the beg. V-stitch. (24 V-stitch)
Round 15. Chain 2, dc in same stitch (beg. V-stitch made). *DC in next (v-stitch decrease) and in the next v- stitch of previous round, then full V-stitch in next* Repeat all the way around, ending with 2 v-stitches dec. Change to Color B before joining with a sl st on top of the beg. V-stitch. (8 Full V-stitch and 16 v-stitch dec. or 1 dc)
Round 16. Chain 2, dc in same stitch (beg. V-stitch made). *V-stitch in between the V-stitch dec or in between the two lone dc of the previous round, then V-stitch into the next V-stitch.* Repeat all the way around till end. Change to Color A before joining with a sl st on top of the beg. V-stitch. (16 V-stitch)
Round 17. Chain 2, dc in next V-stitch, dc in all v-stitches. Join with a sl st on top of the first st. (16 dc) Cut yarn and leave a long tail for gathering the crown or sewing the hole at the top close.
Make your pompoms and attached it to your hat. It may look too complicated for you but as you go along you will know that it is a very easy pattern. I love this stitch and I might make more project out of this stitch. So stay tuned.
That's it, I hope you all learn something and enjoy this post. If you have any questions, comments or suggestion just leave a message in the comment box and I will gladly answer them. And don't forget to Tag me on Instagram and Twitter with your finished project and also like my Page on Facebook, Si Nanay Madel. I would love to see what you've done and Pin it also on Pinterest. Thank you and God bless!
XOXO
Nanay Madel
Don't forget to share on Facebook, Pinterest, Twitter and more. Go check my Ravelry Store for more patterns.
**Please do not copy and post any pattern from this blog and claim it as your own. This pattern is limited to personal use only. Please do not re-publish all photos from this blog as your own. You may make and sell products from my patterns. Please also link back to my post. Any link back will be much, much appreciated. Thank you very much.
Thought of the Day
January 3, 2017
We are daily working out our destiny. We have a crown of eternal life to win, a hell to shun. - OHC 163